The Latvian Mitten, Part III
Knitting a Latvian Mitten is a process. Really, it's a serious project. It starts when you first get the burning desire to knit a Latvian Mitten. Once that happens, you're in for it. From there, there are several steps that you need to execute:
1. Pick a pattern (and chart.) I chose Chart 53.
2. Pick your colors and buy your yarn. Try to make sure that the colors don't look like ass together. I'm using Drops Alpaca.
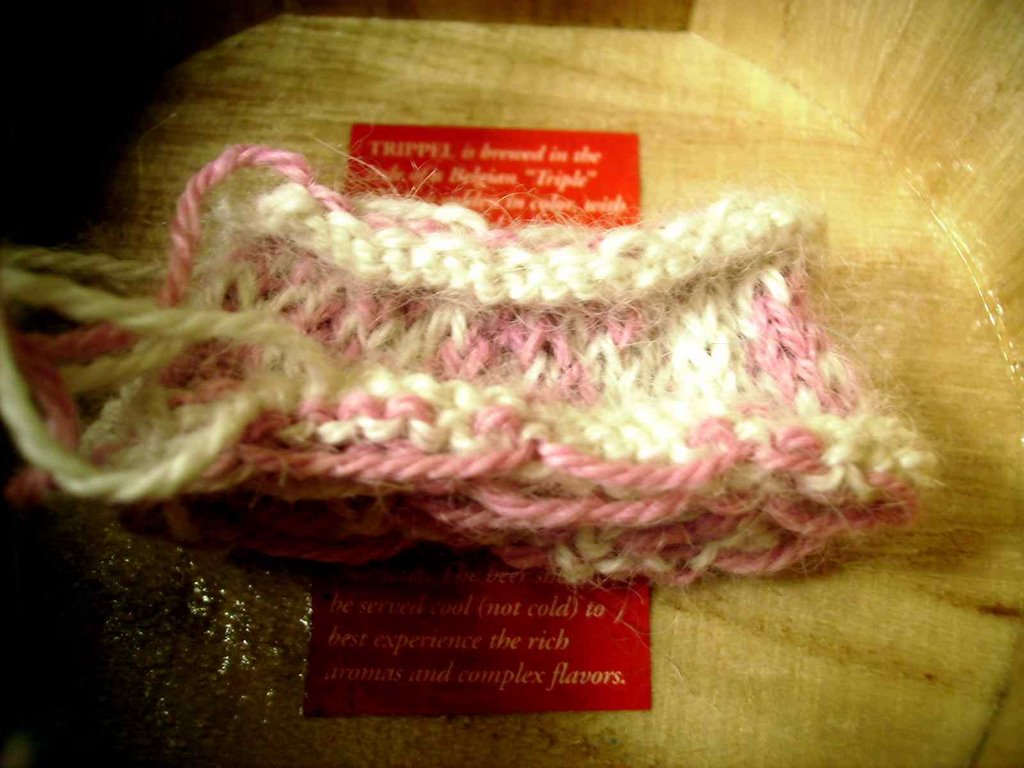
3. Swatch. This step is so important when it comes to making this kind of two-color project that you cannot skip it. Make a two color swatch. I usually pick a portion of the project chart and knit a few rows of it. In this case, stitch gauge is important and row gauge is decidedly less so (unless you're really anal retentive.) This is my swatch:
4. Block your swatch.
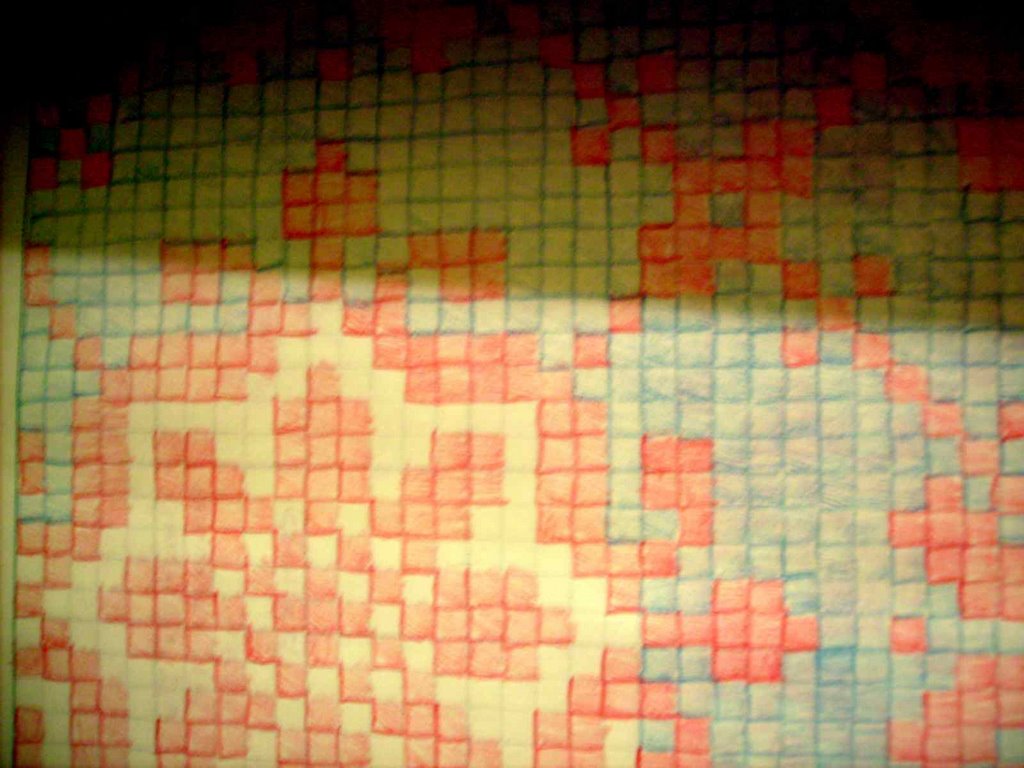
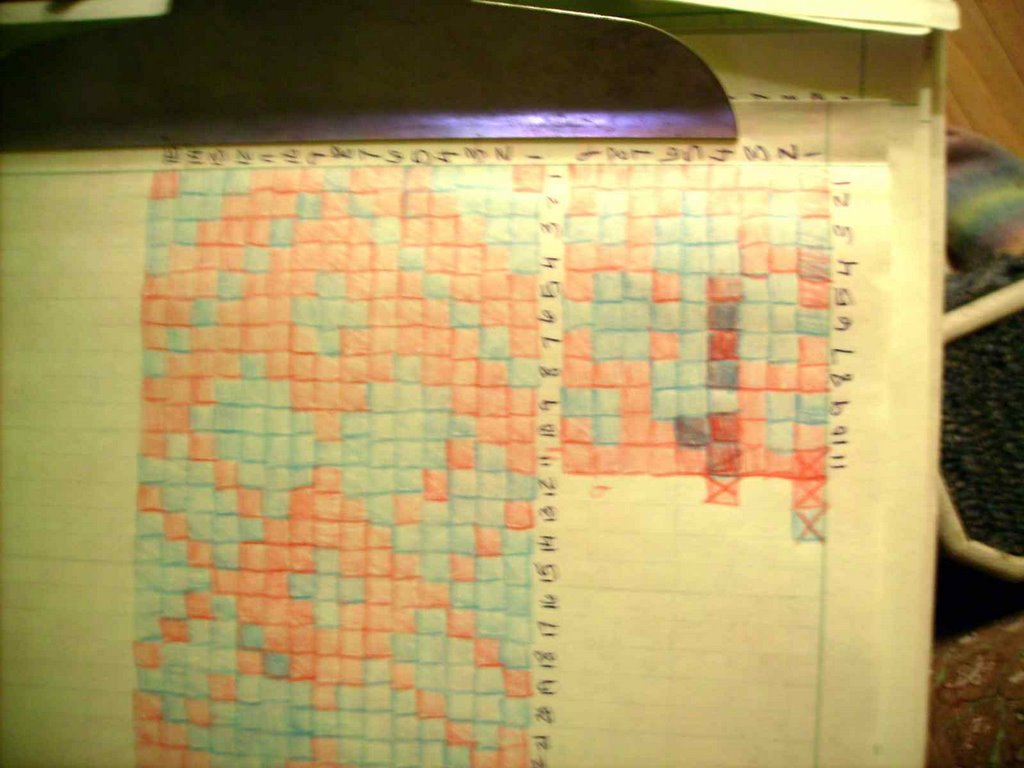
5. While your swatch is blocking, make your charts. The charts in the book Latvian Mittens by Lizbeth Upitis are not complete (they only show the back of the hand while the pictures of the mittens all show the palm,) they are in black and white so that all of the black stitches run together, and they are small. You also have to determine how many stitches wide each chart motif is. This will help you in determining how many stitches to cast on. These are my charts:
6. Consider your roll-prevention options. When I knit Stephen's mittens, I followed the chart and knit a half-braid at the bottom of the cuff. That was insufficient to keep the cuff from rolling. I blocked the cuffs down on his mittens, but even now they are a little roll-y. As a result I knit a full braid on the bottom cuff of my mittens (and omitted the fringe. I hate fringe.)
7. Measure your gauge swatch and figure out your gauge. Then measure your hand. This is what I do:I measure my hand, fingers held together and straight out, right below the thumb. That meanst that my measurement does not include the thumb. Then I add an inch to the measurement.
8. Once you have calculated how many stitches to cast on, you can cast on and knit.
I picked my pattern on Saturday, bought my yarn Saturday morning, swatched Saturday night, started my charts on Saturday night, worked on them all day Sunday and finally cast on Sunday night for my mitten. This is what I've got so far:
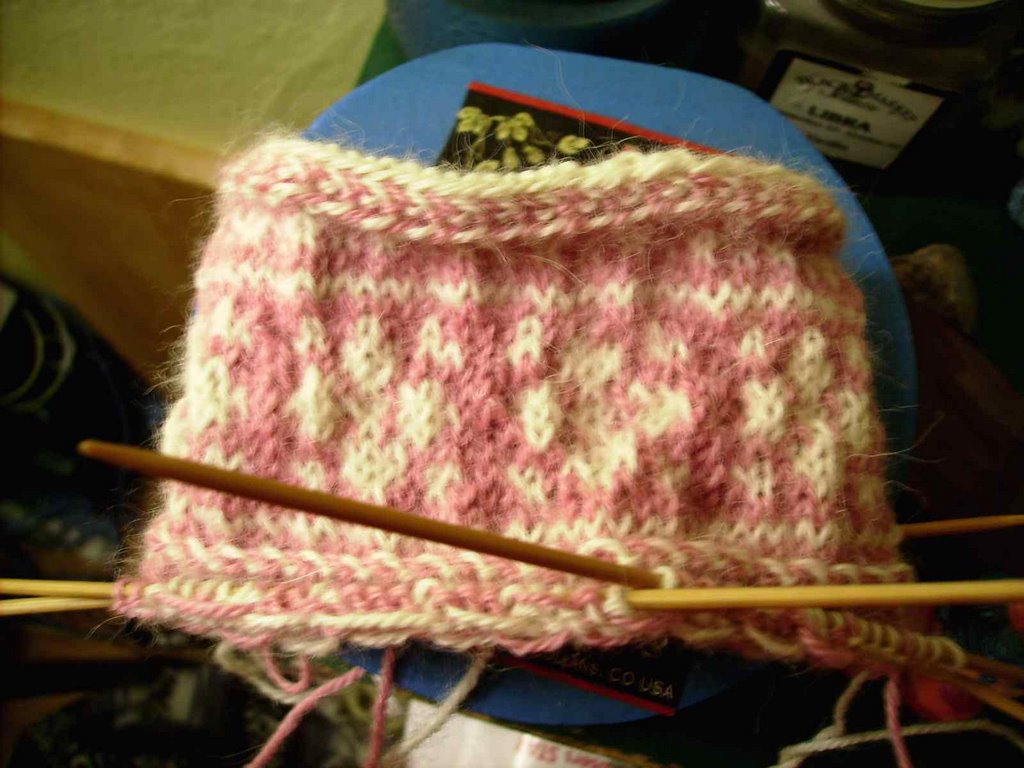
I've knit past the first chart, and have started chart two. The other thing that I might mention is that I am not a perfectionist when it comes to decreasing in the pattern for the top decreases, or for making sure that I have enough stitches to have complete pattern repeats. My hands are small, and the main pattern in this mitten is 48 stitches wide. I only cast on 75 stitches. Two full pattern repeats: 96 stitches, would be way, way too big for me and one pattern repeat wouldn't fit over my hand. As a result, I've opted to have a wonky, non-symmetrical join in the middle of the palm of the mitten. That's fine by me. If you know that it will bother you, then you should pick patterns where you can get full pattern repeats and still fit your hand.
I'm really enjoying knitting these, by the way. And my new co-workers? Super talented people, many of whom are crafty. I've already had one request for a dpn lesson and the person who shares my office has hemmed two of my suit jackets (the sleeves were too long. As usual.)
posted by brewerburns @ 6:21 PM
![]()


1 Comments:
Wow. Beautiful colors, really nice work!!
Post a Comment
<< Home